How to Set Up Multiple Websites on a Single Server with SSL [Ubuntu + Nginx + Let’s Encrypt]
In this tutorial, I will show how to configure Server Blocks in Nginx to host 02 separate websites on an Ubuntu 22.04 server. Also, the websites will be secured with SSL using Let’s Encrypt.

If you already have Nginx installed, please click here to skip the installation steps and jump directly into the tutorial.
First, we should install Nginx on the Ubuntu server. In case if you don’t have it, run the below commands to install and verify.
$ sudo apt update
$ sudo apt install nginx -y
$ nginx -v                     --> checks the installed version
Once Nginx is installed, it is always good to check the status to make sure it is running and enabled to automatically start even after the server is restarted.
To check the status → $ systemctl status nginx . The output should be like the following screenshot.

You could also try to access the respective server IP through the web browser to ensure the default Nginx welcome page is loaded without issue.

All right. Now we can move ahead with the Website setup.
Note: The domain names used for this demo are as follows;
- mywebsite1.com
- mywebsite2.com
Step 01: Create Directory Structure within /var/www/
By default, Nginx has /var/www/html directory to serve the default welcome webpage. However, we will create additional directories within /var/www/ for each of the sites besides the default html directory.
$ sudo mkdir -p /var/www/mywebsite1.com/html
$ sudo mkdir -p /var/www/mywebsite2.com/html
We have created html directory within the site-specific directories to keep the website files. This will make the directory structure more understandable.
What Permissions Should I Have?
Well, there are many debates on how to setup the permissions on website directories. Anyway, I won’t get into more details on permissions here because it is a broad topic for another day! I have used the permissions as described below to keep the things simple and restrict unwanted access.
Your user (ubuntu in this case) will be the owner of the website directory with full permissions (read, write, execute). -R stands for recursive where it will update owner of each and every file and folder inside the directory.
$ sudo chown -R ubuntu /var/www/mywebsite1.com/html
$ sudo chown -R ubuntu /var/www/mywebsite2.com/html
Web server (www-data in this case) will be the group owner with only read and execute permissions.
$ sudo chgrp -R www-data /var/www/mywebsite1.com/html
$ sudo chgrp -R www-data /var/www/mywebsite2.com/html
Now, we should give permissions to user (u), group (g) and others (o) respectively. Here, we will set read,write, eXecute permissions for the user and read, eXecute permissions for the group and zero permissions for others. In other words, permissions should be 750.
Note: When using the
-Rflag, make sure to use theX(capital x) instead ofx(simple x). This will specify that execute permissions should only be set on directories, not regular files.
$ sudo chmod -R u=rwX,g=rX,o= /var/www/mywebsite1.com/html
$ sudo chmod -R u=rwX,g=rX,o= /var/www/mywebsite2.com/html
The final command makes all the files and folders created inside the directory to automatically inherit same group ownership as the parent folder (html in this case), which has been set to www-data previously. This allows the web server to read and execute the files without any issue.
$ sudo chmod g+s /var/www/mywebsite1.com/html
$ sudo chmod g+s /var/www/mywebsite2.com/html
Note: It is recommended NOT to allow web server to write to whole website directory due to security reasons. If you have folders that needs to be writable by the web server, only allow the write permission on that specific folder only.
Step 02: Create Default Web Pages for Each Site
Now, let’s create default web pages to display some content to distinguish sites so that we can check if both sites are working later on. For that, we need to create an index.html file within the directory structures created earlier. For this demo, I will create the file and add some text to it through the terminal using the following command.
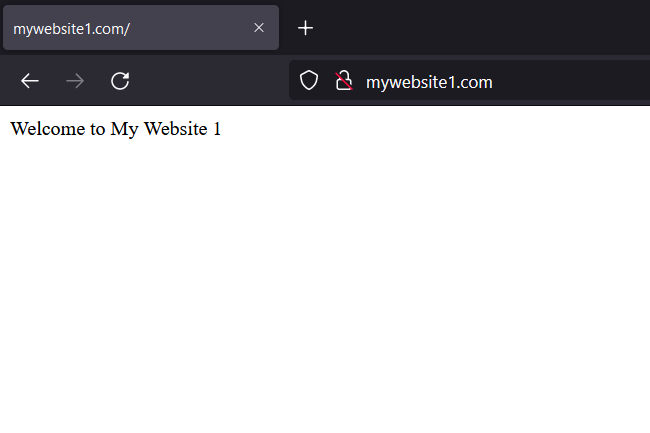
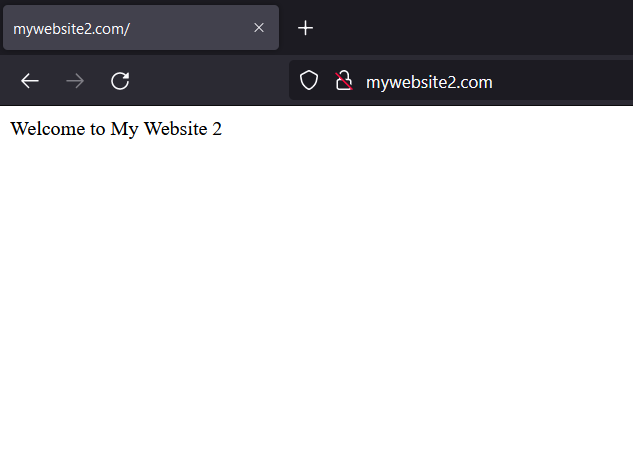
$ echo "Welcome to My Website 1" > /var/www/mywebsite1.com/html/index.html$ echo "Welcome to My Website 2" > /var/www/mywebsite2.com/html/index.html
Step 03: Create and Enable Virtual Host (AKA Server Blocks) for Domains
In this section, we will configure the Server Blocks to instruct Nginx how to server the web content.
It has a default server block in /etc/nginx/sites-available/default . We will create a new file inside the sites-available directory for our own task as below.
$ cd /etc/nginx/sites-available/
$ sudo nano mywebsite1.com
Include the following lines of commands. Repeat the steps for other domain as well. Change the server_name and root directives accordingly.
server {
       listen 80;
       listen [::]:80;       server_name mywebsite1.com www.mywebsite1.com;       root /var/www/mywebsite1.com/html;
       index index.html;       location / {
               try_files $uri $uri/ =404;
       }
}
Once create, we have to enable the server blocks, so that Nginx will read them during startup. For that, we should connect the created files to sites-enabled directory using symbolic links.
sudo ln -s /etc/nginx/sites-available/mywebsite1.com /etc/nginx/sites-enabled/sudo ln -s /etc/nginx/sites-available/mywebsite2.com /etc/nginx/sites-enabled/
If you cd into the sites-enabled directory it will show the links as below;
mywebsite1.com -> /etc/nginx/sites-available/mywebsite1.com
mywebsite2.com -> /etc/nginx/sites-available/mywebsite2.com
Lastly, we need to restart Nginx to enable the changes.
$ sudo systemctl restart nginxStep 04: Test the Results
For this demo, I have added relevant entries to the hosts file to test the results. Since I am using a windows machine, hosts file can be found in C:\Windows\System32\drivers\etc , which I have modified like below. Insert the web server’s public IP into the <web server public IP> placeholder without the brackets.
<web server public IP> mywebsite1.com www.mywebsite1.com
<web server public IP> mywebsite2.com www.mywebsite2.com
Then go to the browser and type the domain name and Voila! the sites are working. YAY!
Now, we have successfully configured the Nginx web server to serve our web sites. Next part is to secure the sites with SSL.
Step 05: Configure SSL for the Websites Using Let’s Encrypt
Let’s encrypt allows anyone with a domain name to secure their sites with trusted certificates at zero cost. According to the official documentation they recommend to use Certbot ACME client. This installation is for an Ubuntu machine running Nginx.
You can get customized instructions for other operating system and web servers from here.
Install snapd
In my case, I already had snapd installed. For more details and installation instructions it is recommended to refer the official website.
For Ubuntu it is as follows;
$ sudo apt update
$ sudo apt install snapd
Remove certbot-auto and any Certbot OS packages
This section is only applicable if you already have any Certbot packages installed previously using apt, yum or dnf. You should remove them before installing the Certbot snap.
Install Certbot
Run the following command to install Certbot.
$ sudo snap install --classic certbotEnable the Certbot Command to Run
Symbolic link should be created as shown below to allow the Certbot command to run properly.
$ sudo ln -s /snap/bin/certbot /usr/bin/certbotGet a Certificate
Certbot can edit the Nginx file automatically. However, I don’t want that. I just need a certificate so that I can edit Nginx file manually by my self.
$ sudo certbot certonly --nginxYou will be asked for an email address. Once your provide it will list the existing domain names for selection to enable HTTPS. You will see an output like the following screenshot.
Note: I used NO-IP website to configure DNS for this demo to be able to create SSL certificates through let’s encrypt. Therefore, I had to change the domain name as
mywebsite1.ddns.net. This free service only allows 1 domain for free. So, I could only enable SSL formywebsite1.ddns.net. However, the process is same to enable SSL for any number of domains.
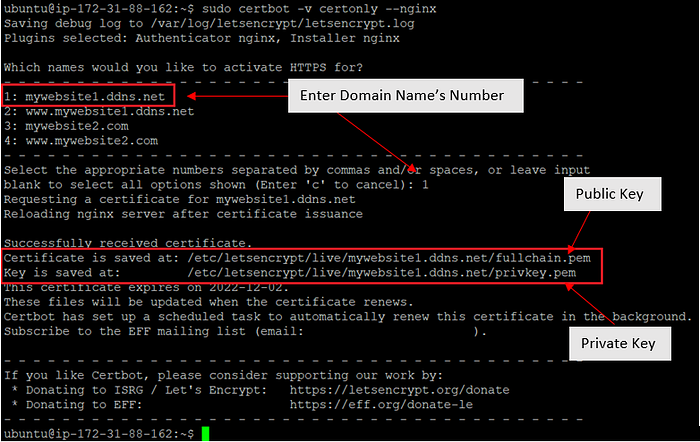
Once you have the certificates it is time to update the respective Nginx configuration file. We will add the certificates into the mywebsite1.com file inside/etc/nginx/sites-available .
Make sure to insert semicolon (;) after each line, otherwise it will say nginx: [emerg] invalid number of arguments in “ssl_certificate” directive in /etc/nginx/…
server {
       listen 80;
       listen 443 ssl;       ssl_certificate /etc/letsencrypt/live/mywebsite1.ddns.net/fullchain.pem;
       ssl_certificate_key /etc/letsencrypt/live/mywebsite1.ddns.net/privkey.pem;       server_name mywebsite1.ddns.net;       root /var/www/mywebsite1.com/html;
       index index.html;       location / {
               try_files $uri $uri/ =404;
       }
}
Check for any errors with $ sudo nginx -t . If all good you can safely reload the nginx service.
$ sudo systemctl reload nginxYou will see the secured padlock icon next to the address bar.
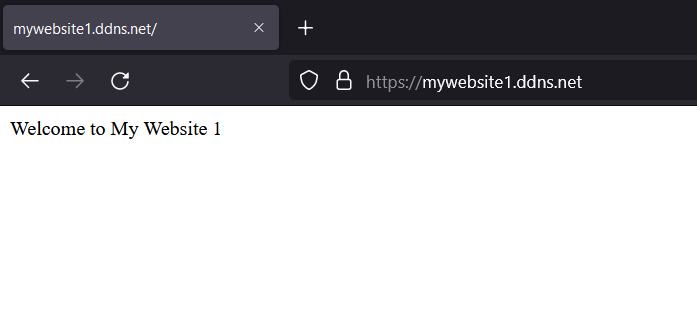
We have successfully configured a web server on an Ubuntu machine with Nginx and secured the site with SSL. Let’s call it a day!
I sincerely hope this article will be helpful for anyone in the process of configuring their own Web server. I highly value your feedback and support!
Thank you for reading and stay safe!